
October 06, 2026


You feel it about an hour in. The pack that felt fine in the parking lot has turned into a stubborn weight on your shoulders, pulling you backward on climbs and bouncing on descents. The fix is rarely a new pack. It is almost always fit. A few straps, adjusted in the right order, can turn a cranky load into something you forget you are wearing. Use this checklist at home or at the trailhead before you take the first step.
No hip belt can rescue a badly packed bag. Before you touch a single adjustment, make sure the load itself is stable. A shifting pack will pull against every strap and leave you fidgeting all day.
If the pack still feels like a bag of rocks, the problem may be total weight. A good fit makes a heavy pack more bearable, but it does not make an overloaded pack comfortable.
The hip belt is the foundation. It should sit on top of your hip bones, not around your stomach or waist. Run your hands along your sides until you feel the bony crest of your pelvis. The padded belt should rest there, with the buckle centered.
Tighten the hip belt by pulling the straps toward the buckle, then walk a few steps. It should feel snug and secure, like a firm handshake, not so tight that it pinches or restricts breathing. Most of the pack's weight should transfer to your hips. Your shoulders are there for balance and control, not for carrying the whole load.
Loosen your shoulder straps completely and lean forward slightly. If the pack stays in place and does not slide down your back, the hip belt is doing its job. If it drops, tighten the belt or reposition it higher on your hip bones. If it still slides, the belt may be too large or the pack may be overloaded.
Once the hip belt is set, tighten the shoulder straps until they rest comfortably on your shoulders. They should curve over the top of your shoulders and anchor near your collarbone, not press into your neck or leave a gap under your arm.
You want contact, not compression. If the shoulder straps are carrying most of the weight, the hip belt is too loose or the pack is not sized correctly for your torso. If they dig in, ease them off and readjust the hip belt first. A little slack is fine. The shoulder straps should guide the pack, not strangle your upper body.
Load lifters are the small straps that run from the top of the shoulder straps to the top of the pack. They are the difference between a pack that sways behind you and one that moves as part of your body. They should angle upward at roughly 45 degrees.
Pull them gently until the top of the pack sits close to your upper back. You should feel the pack come in toward you, not lift off your hips. If the load lifters are too tight, they will pull the shoulder straps into your chest and make the hip belt feel loose. If they are too loose, the pack will rock side to side on rough ground.
With the load lifters set, the pack should feel connected from hips to shoulders. You can still slip a hand under the shoulder strap, but there is no slack that lets the pack swing away. Adjust in small steps. A quarter-inch of strap can change the whole feel.
The sternum strap connects the two shoulder straps across your chest. It keeps them from sliding outward and helps reduce sway. Position it across your chest, not your throat, and tighten it just enough to hold the straps in place.
You should be able to breathe deeply without resistance. If the strap pinches or rubs, move it up or down to a different attachment point, or loosen it. On steep scrambles or uneven terrain, a snug sternum strap adds stability. On a flat, easy stretch, many hikers loosen it for comfort. That is fine. The strap is a tool, not a rule.
A pack fit is not finished in the living room. Straps settle, layers change, and your body moves. After ten or fifteen minutes of walking, stop and run through the adjustments again. Here is the order that works:
On climbs, loosen the shoulder straps and sternum strap slightly so you can breathe freely. On descents, tighten the hip belt and load lifters a touch to keep the pack from riding up. After a long break, re-tighten the hip belt. It often loosens as you move.
Before you leave the trailhead, do a final check. Lift the pack by the shoulder straps and let it settle onto your hips. Tighten the hip belt. Snug the shoulder straps. Adjust the load lifters. Fasten the sternum strap. Then bend forward, twist side to side, and take a few steps. Nothing should pinch, rub, or swing.
If you feel numbness, tingling, or sharp pain, stop and readjust. Discomfort is a signal, not a challenge. Persistent pain after your hike deserves attention from a medical professional.
Good fit is not about buying the most expensive pack. It is about understanding four straps and using them in the right order. Get that right, and the miles feel lighter.
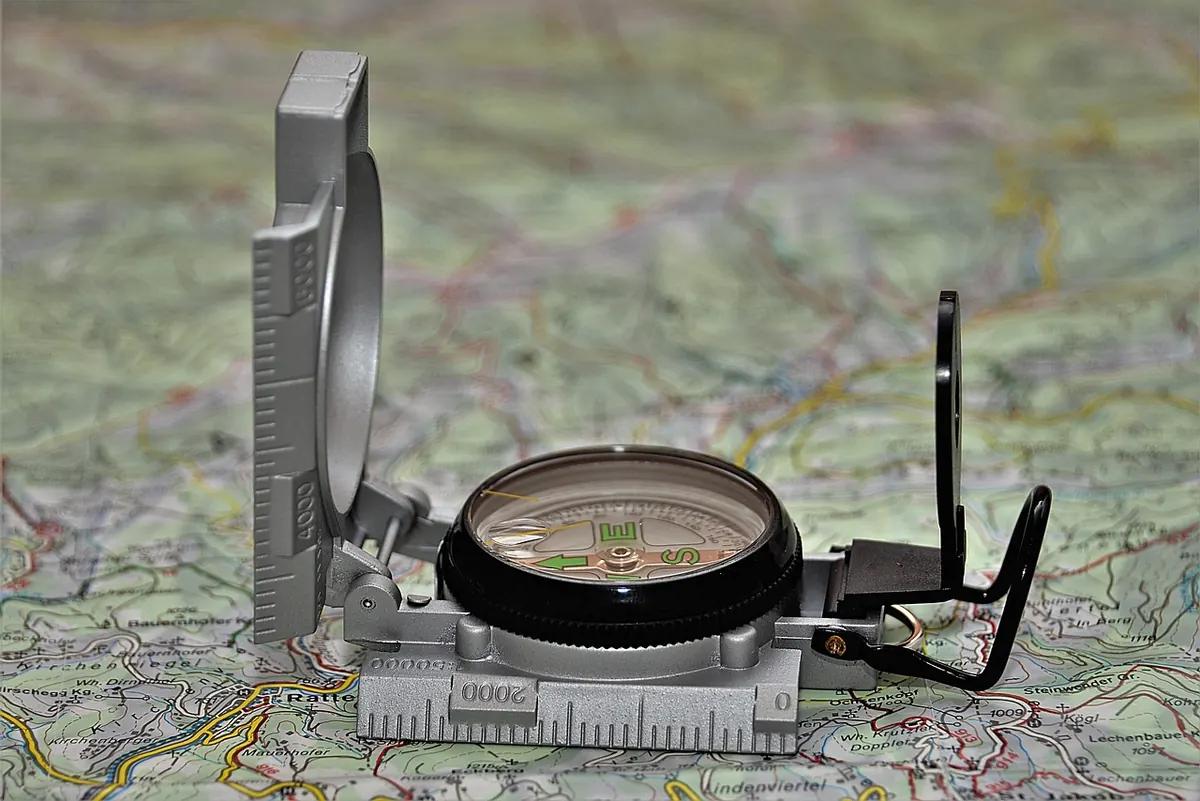
Photo: Hermann / Pixabay

A guiding light for outdoor adventures..
Copyright © 2026 Briar Beacon. All rights reserved. Briar Beacon.