October 06, 2026


Five miles is a good first goal. It is long enough to feel like a real day out and short enough that you can walk it, eat lunch somewhere with a view, and still be home before dinner. The hard part is not fitness. It is planning. Most miserable first hikes come down to a trail that was steeper than expected, a start time that was too late, or a water bottle that ran dry at mile three. All three are easy to fix before you leave the driveway.
Distance alone tells you very little. A flat five miles on a wide rail trail is a stroll. Five miles with 1,500 feet of climbing is a workout that will humble a new hiker, especially on the descent, when tired legs and loose gravel get together and cause trouble.
For a first hike, look for something with under about 700 feet of total elevation gain, on a trail that is well marked and reasonably popular. Read the route description, not just the mileage. Words like "rocky," "exposed," and "scramble" mean the miles will take longer than you think.
Two route shapes work well for beginners:
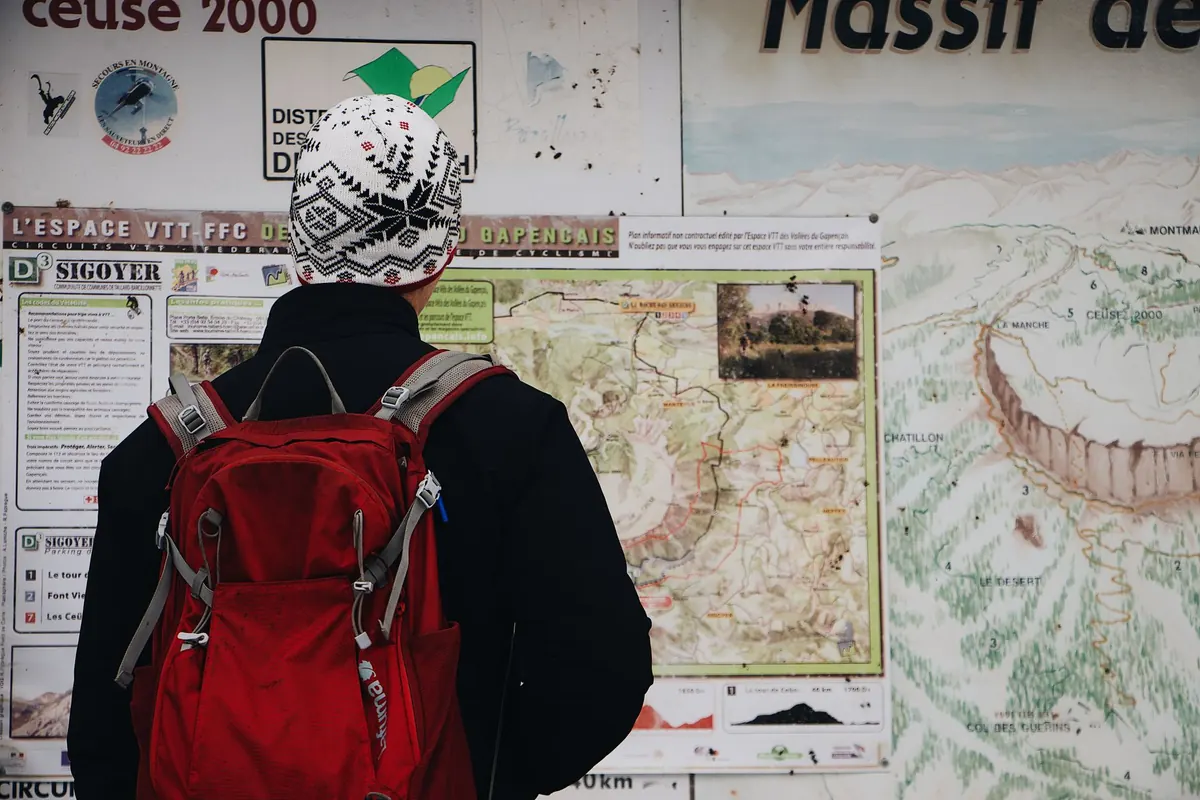
Before you commit, check the website of whoever manages the land — a state park, national forest, or local land trust. That is where closures, seasonal road gates, permit requirements, and parking pass rules are posted. Trail reports from the last few weeks will tell you about blowdowns, mud, and whether the trailhead lot fills by 9 a.m.
On trails with hills, a realistic average pace including stops is around two miles per hour. Five miles, then, is roughly three hours on your feet, and four if you linger at a viewpoint. Budget generously and you will never be the person jogging back to the car at dusk.
A reasonable starting point is about half a liter per hour of hiking, more in heat, humidity, or altitude. For a three-hour, five-mile hike, that means at least 1.5 liters per person, and two liters is a smarter target on a warm day. Carry it in bottles or a bladder you can drink from while walking, because people drink far more when it is easy.
Sip steadily rather than gulping a liter at the summit. If you are sweating heavily for hours, a drink with electrolytes helps replace what you lose. Do not plan to drink from streams or springs unless you are carrying a filter or treatment drops — clear water is not clean water.
Eat before you are hungry and drink before you are thirsty. Hunger on the trail tends to arrive suddenly, and by then you are already dragging.
Pack food you would be happy to eat sitting on a rock with cold hands. Good options: a peanut butter sandwich, trail mix with nuts and dried fruit, granola bars, jerky, cheese, pretzels, an apple, dried mango. Bring something salty and something sweet. Avoid anything that melts into your pack or requires a stove. Pack out every wrapper, including the ones that look like they will biodegrade.
Keep a snack in a hip pocket or the top of your pack so you can eat without stopping to dig. And eat a real meal within an hour or two of finishing — recovery starts with food, not with a shower.
Look at the forecast the night before and again the morning of. Conditions change, and the forecast for the nearest town is not the forecast for the trailhead, which may sit a thousand feet higher and several degrees cooler.
In mountainous areas, afternoon thunderstorms are common in summer. A 10 a.m. start on an exposed ridge is a different proposition than the same hike at 4 p.m. If storms are in the forecast, choose a lower, more sheltered route or pick another day.
Dress in layers you can shed and add: a synthetic or wool base layer, a light insulating layer, and a packable rain shell. Cotton holds sweat and stays cold when wet, so leave the cotton T-shirt at home. A hat and sunscreen matter even on cloudy days.
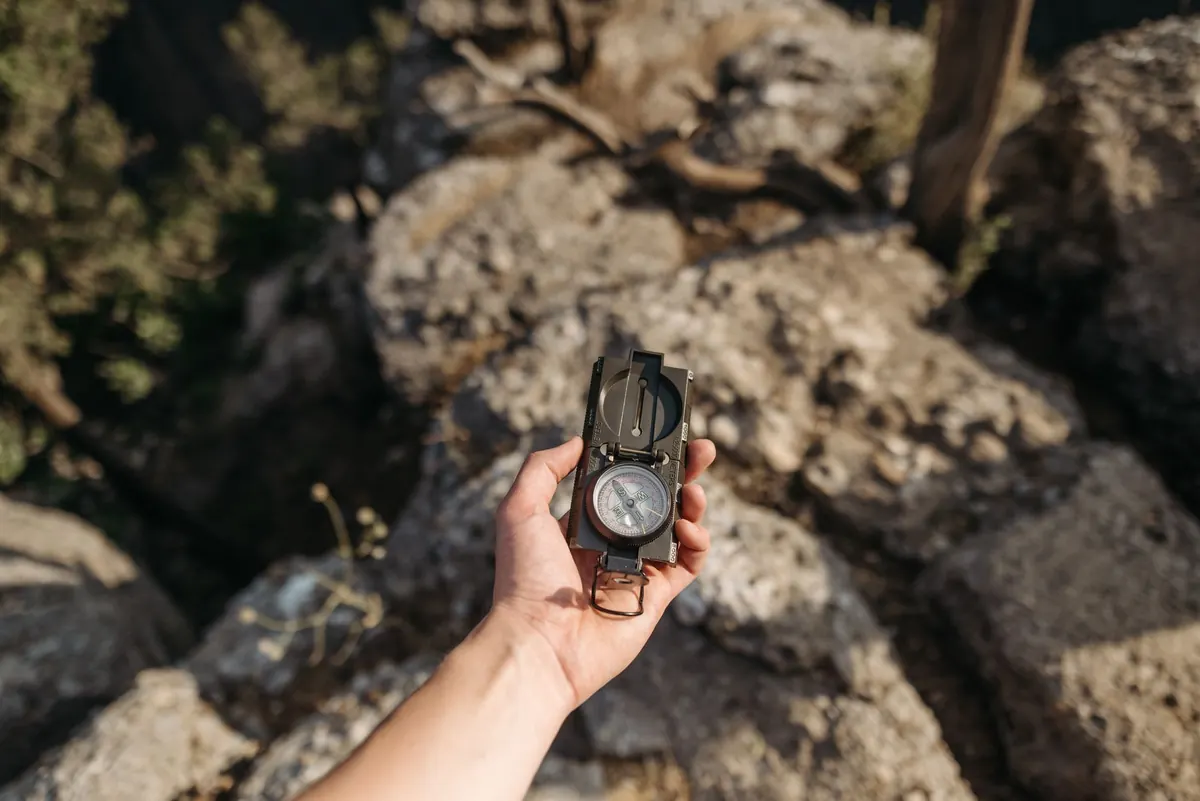
Most day-hike emergencies come from small things — a wrong turn, a turned ankle, a cold wind at a stop — that get worse because no one was prepared. Carry these every time, even on a short, familiar trail:
Wear shoes with real tread that you have already broken in, paired with wool or synthetic socks. Blisters end more first hikes than steep hills do. Cell service is unreliable in many canyons and forests, so treat your phone as a convenience, not a rescue plan.
In bear or mountain lion country, make noise on blind corners, keep food sealed and close, and never run from wildlife. If you have a heart condition, joint problems, or any doubt about your fitness for a sustained climb, check with a doctor before you go. That is a conversation worth having, not a formality.
At the car, sit down and check your feet for hot spots and blisters, and do a quick tick check in warm months. Drink something, eat something, and stretch your calves and hips while they are still warm. Then open your notes app and write three lines: what worked, what you forgot, and how you felt at the end.
That little record is how the second hike gets easier. Add a mile, add a little elevation, or head somewhere with a better view. If five miles felt genuinely hard, do the same route again before you go longer — repetition builds the legs, the pacing instincts, and the confidence that make bigger days possible.
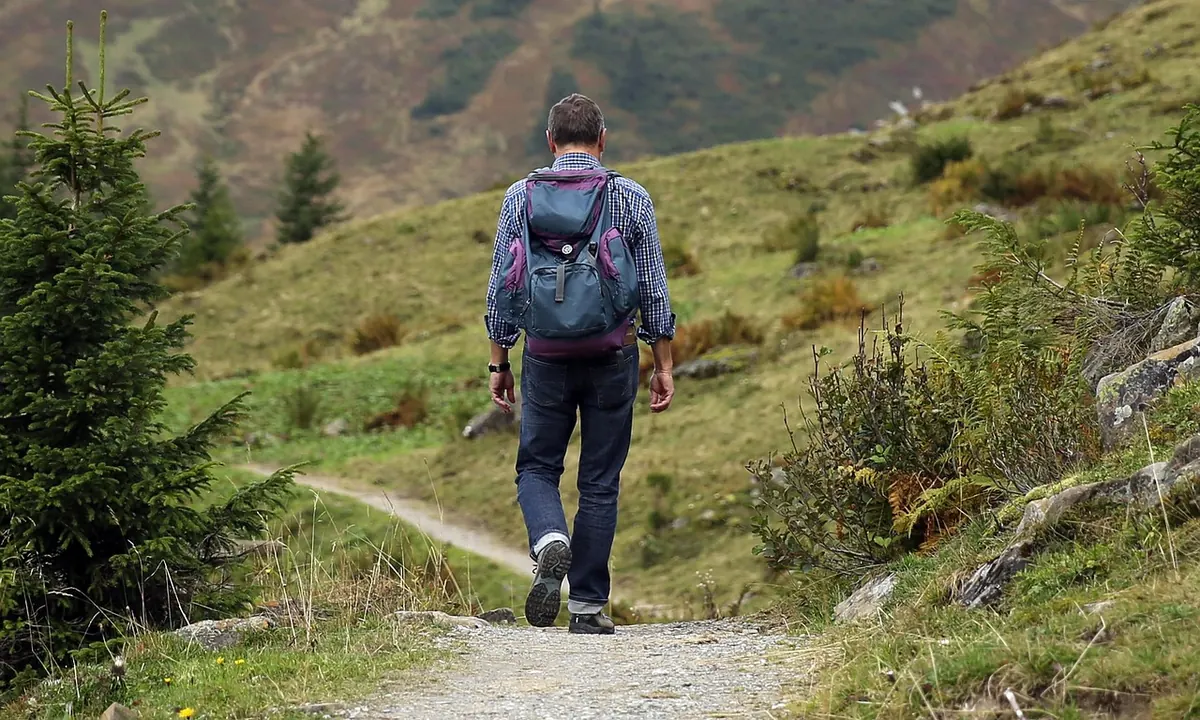
Photo: Maël BALLAND / Pexels
A guiding light for outdoor adventures..
Copyright © 2026 Briar Beacon. All rights reserved. Briar Beacon.